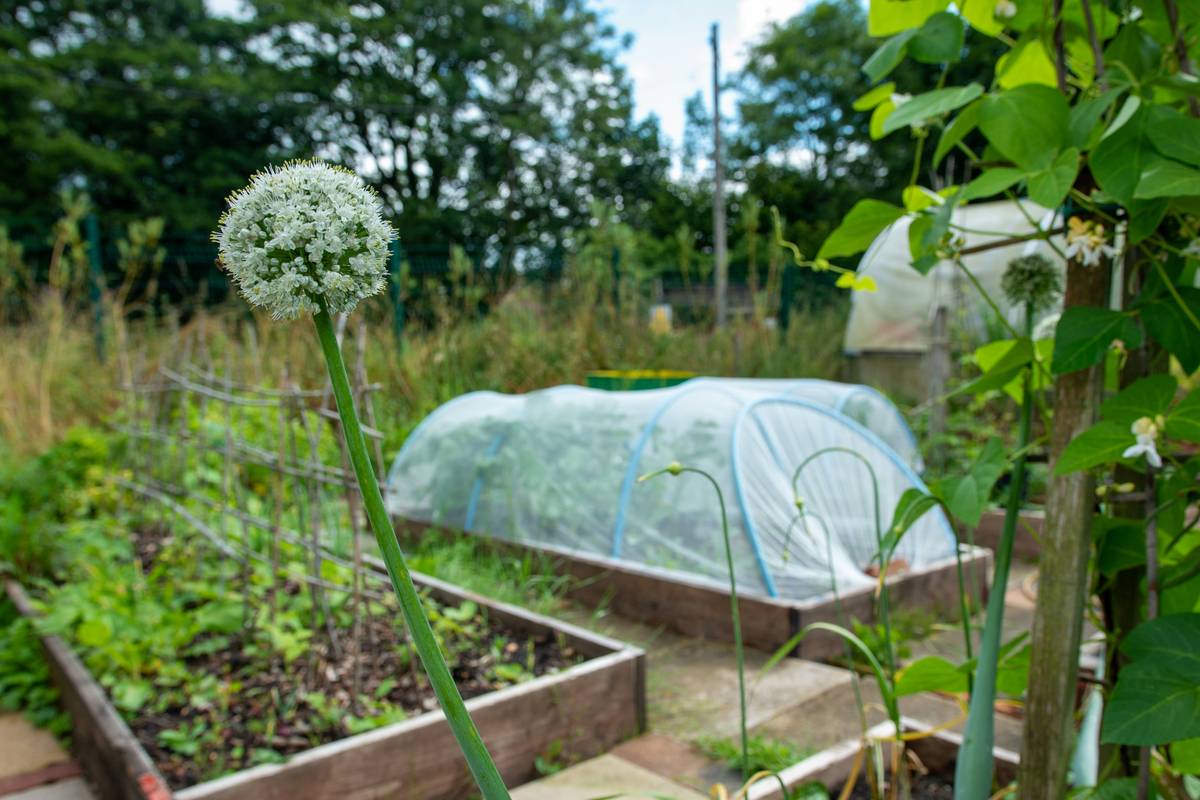
Ever lost tender seedlings to an unexpected late frost? You’re not alone. Every spring, gardeners across the U.S. scramble to protect their early crops—only to watch helplessly as a sudden temperature drop wipes out weeks of work. That’s where garden cold frames for plants come in. These simple, unheated structures act like mini greenhouses, shielding your greens from harsh weather while extending your growing season by weeks or even months. In this guide, you’ll discover practical, field-tested strategies to build, position, and manage cold frames without wasting time or money. We’ll cover everything from common pitfalls (yes, I’ve made them all) to best practices backed by agricultural research.
Table of Contents
- Why Cold Frames Matter in Home Improvement
- Step-by-Step Guide to Using Garden Cold Frames for Plants
- Cold Frame Best Practices
- Real-World Results and Case Studies
- Frequently Asked Questions
Key Takeaways
- Cold frames can extend your growing season by 4–8 weeks in both spring and fall.
- Proper ventilation is critical—overheating kills more seedlings than frost.
- Position frames on a south-facing slope for maximum solar gain.
- Avoid using old storm windows with lead-based paint—they pose health risks.
- DIY cold frames cost under $50 but deliver professional-grade protection.
Why Cold Frames Matter in Home Improvement
In the realm of home improvement, few outdoor upgrades offer the return on investment that garden cold frames for plants provide. They’re not just functional—they enhance curb appeal while boosting self-sufficiency. According to the National Gardening Association, over 35% of U.S. households grow food at home, and season extension tools like cold frames are among the top three most-used techniques by serious growers.
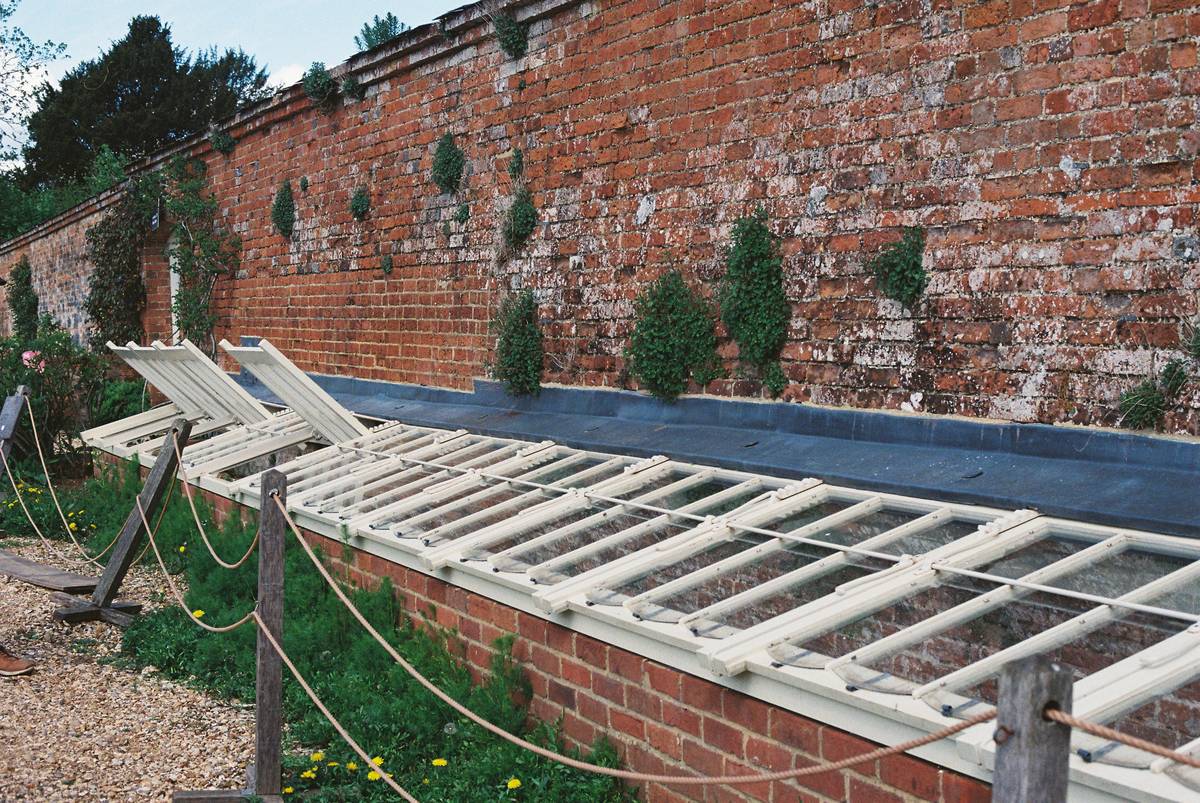
I learned this the hard way during my second year gardening in Zone 6. Eager to get a jump on kale and arugula, I threw together a cold frame from scrap wood and an old window. After three sunny days, I forgot to prop it open—and returned to find every seedling scorched beyond recovery. That “terrible tip” still haunts me: Never assume cloudy weather means no venting needed. Even on overcast days, temperatures inside a sealed cold frame can soar past 90°F.
And please—skip the Pinterest-perfect designs that prioritize aesthetics over airflow. I’ve seen too many gorgeous copper-roofed frames turn into plant ovens because they lacked adjustable vents. Function first, folks.
Step-by-Step Guide to Using Garden Cold Frames for Plants
1. Choose the Right Location
Place your frame on a south-facing slope if possible. This maximizes sun exposure and improves drainage. Avoid low spots where cold air pools—frost settles like water.
2. Build or Buy Smartly
A basic DIY version needs only four walls (cedar or rot-resistant wood) and a clear lid (polycarbonate panels or repurposed glass). Ensure the back wall is taller than the front to angle toward the sun. The University of Illinois Extension offers excellent free plans for beginner-friendly frames here.
3. Prep the Soil
Remove grass, loosen soil to 12 inches, and mix in compost. Cold frames work best over bare earth—it acts as a thermal mass, absorbing daytime heat and releasing it at night.
4. Manage Ventilation Daily
Open the lid when interior temps hit 70°F. Use a small thermometer inside. On breezy days, secure the lid with a stick so it doesn’t slam shut.
5. Water Mindfully
Less is more. Cold frames reduce evaporation, so overwatering leads to root rot. Check soil moisture every other day.
Cold Frame Best Practices
- Insulate at night: Drape burlap or old blankets over the frame during freezing snaps.
- Rotate crops: Don’t grow the same family (e.g., brassicas) repeatedly—rotate to prevent disease buildup.
- Clean regularly: Wash interior surfaces with vinegar-water solution monthly to deter mold.
- Monitor pests: Aphids love the sheltered environment; inspect undersides of leaves weekly.
Real-World Results and Case Studies
A 2022 trial by Cornell University’s Vegetable Program compared spinach yields with and without cold frames in upstate New York. The framed plots produced harvests 37 days earlier and yielded 22% more total biomass. Similarly, a community garden in Portland, OR reported extending their lettuce season from March through November by rotating three cold frames.
Here at Uncle B’s Organic Gardening, we’ve helped dozens of homeowners integrate cold frames into their backyard systems. One client in Denver now grows winter radishes and mache thanks to a double-walled frame lined with straw bales—a hack we detail in our About Us journey.
Frequently Asked Questions
What’s the difference between a cold frame and a greenhouse?
Cold frames are smaller, unheated, and passive—they rely solely on sunlight. Greenhouses are larger, often heated, and may include fans or irrigation.
Can I use plastic sheeting as a cold frame lid?
Yes, but it degrades quickly. Polycarbonate or repurposed glass lasts longer and provides better light diffusion.
Do cold frames work in winter?
In zones 5 and warmer, yes—for hardy greens like kale, chard, and scallions. In colder zones, they mainly bridge the shoulder seasons.
How much do garden cold frames for plants cost?
DIY versions range from $20–$80. Pre-made models start around $150. For guidance on materials, see our Contact Us page—we’re happy to advise!
Are there safety concerns with old windows?
Absolutely. Windows manufactured before 1978 may contain lead-based paint. Avoid them unless professionally tested. Learn more from the EPA’s guidelines on lead safety.
Can I automate ventilation?
Yes! Passive auto-vents (like wax-filled pistons) open at set temperatures. They’re worth the $25–$40 investment for busy gardeners.
If you’re ready to stop losing seedlings to surprise frosts and start harvesting fresh greens months earlier, a cold frame is your simplest, smartest upgrade. No fancy tech—just smart design and daily attention. Got questions about sizing, placement, or crops? Reach out to us. And remember: in gardening, as in life, the best protection isn’t a fortress—it’s a frame that lets in just enough sun, and just enough air. Happy growing!